Español
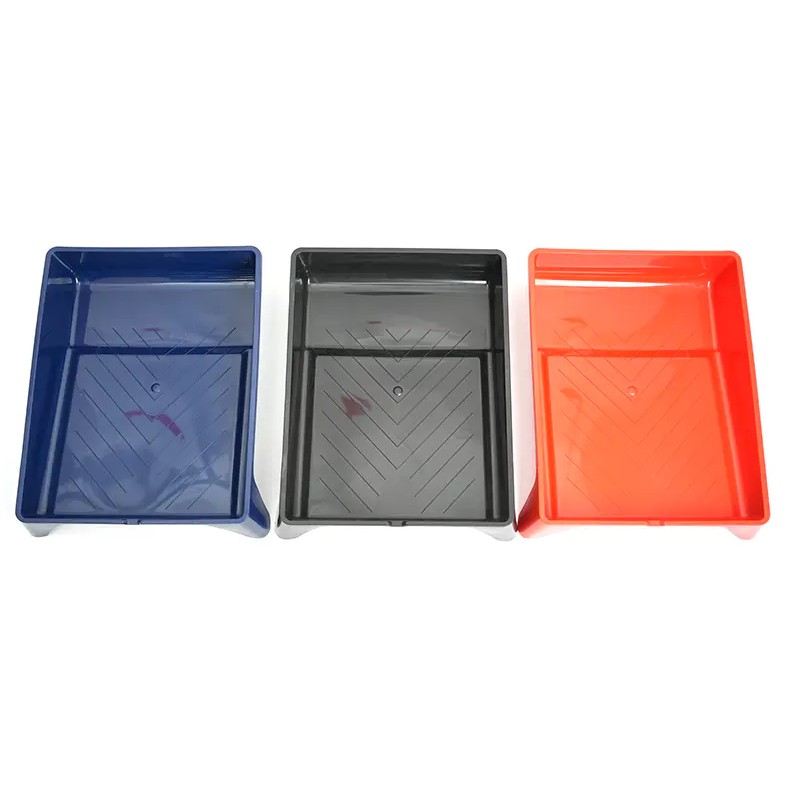
A paint roller tray is used because it provides a controlled, stable reservoir for loading paint evenly onto a roller cover, prevents spills, reduces waste, and enables consistent application across large surfaces. Without a tray, it is nearly impossible to load a roller cover correctly — leading to overloading, drips, uneven coverage, and excess paint consumption. Whether you are a first-time decorator or a professional painter, a roller tray is a foundational tool that directly affects the quality and efficiency of every project.
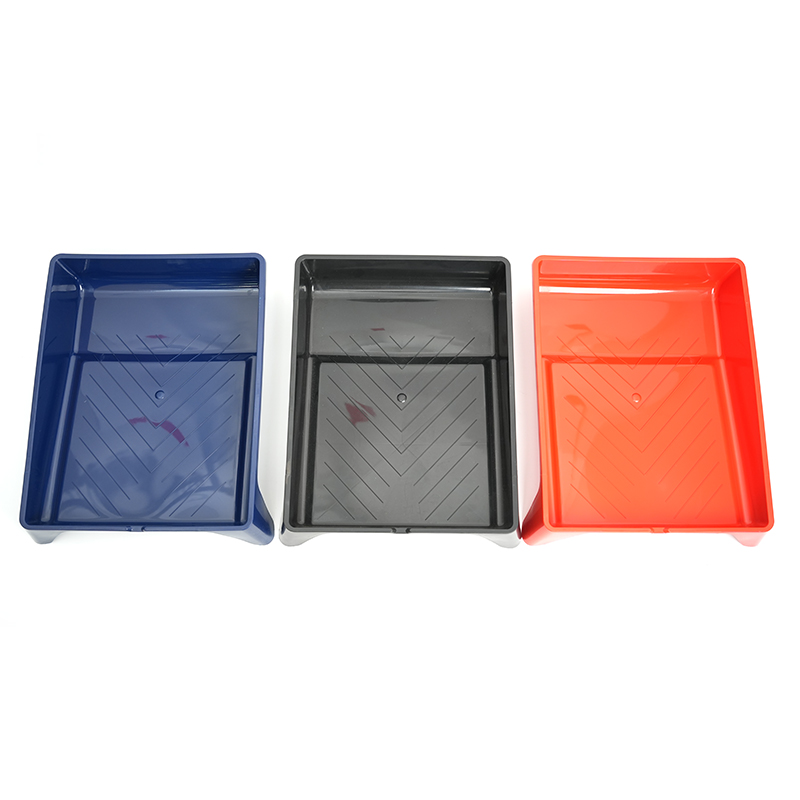
A paint roller tray is a shallow rectangular or tapered container, typically made from plastic or metal, designed with two distinct zones: a deep well that holds a reservoir of paint, and a ribbed ramp that allows the roller to be loaded and excess paint to be distributed evenly across the cover. Trays are manufactured in standard sizes to match common roller widths, from compact 4-inch mini trays to wide 18-inch professional trays used on commercial jobs.
Content
- 1 Even Paint Loading for a Uniform Finish
- 2 Reduces Paint Waste and Controls Consumption
- 3 Keeps the Work Area Cleaner and Safer
- 4 Speeds Up the Painting Process
- 5 Tray Types and Their Specific Advantages
- 6 Tray Size Must Match the Roller Width
- 7 How to Use a Paint Roller Tray Correctly
- 8 Cleaning and Maintaining the Tray
- 9 Paint Roller Tray vs. Bucket and Grid: When to Use Each
Even Paint Loading for a Uniform Finish
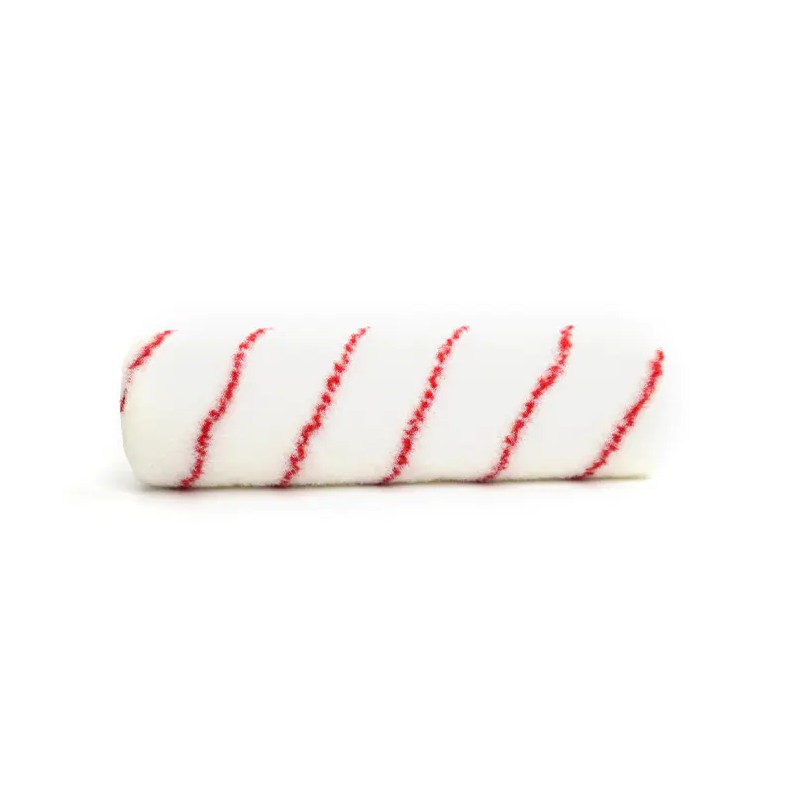
The most important reason to use a paint roller tray is that it enables even, consistent loading of the roller cover. When a roller is dipped into a bucket or can of paint directly, it picks up an uncontrolled and often excessive amount of paint. The ribbed ramp surface of the tray solves this problem by allowing the painter to roll the cover back and forth, spreading paint uniformly from end to end across the full width of the nap.
An unevenly loaded roller cover deposits more paint on one end than the other, creating visible lines, streaks, and lap marks on the finished surface. These defects are difficult to correct once the paint begins to dry and often require sanding and recoating — adding both time and cost to a project. The tray's ramp eliminates this risk by giving the painter a consistent loading surface every time.
Research and professional painting guidelines consistently show that proper roller loading accounts for up to 60% of the final finish quality — and the tray is the tool that makes correct loading possible.
Reduces Paint Waste and Controls Consumption
A paint roller tray helps control exactly how much paint is transferred to the roller cover at each loading, which directly reduces waste. The well of the tray holds only a working quantity of paint — typically enough for 15 to 25 minutes of active painting — which encourages the painter to use paint at a measured pace rather than drawing from an open gallon can where overloading is common.
Overloaded rollers are the leading cause of paint splatter, drips on trim and baseboards, and uneven wet film thickness on walls. Each of these problems wastes paint that ends up on the floor or in the wrong place rather than on the surface. A tray that is properly filled — to no more than one-third the depth of the well — naturally limits how much paint contacts the roller and keeps consumption predictable.
For reference, a standard 9-inch roller cover properly loaded from a tray applies roughly 350 to 400 square feet of coverage per gallon of standard latex wall paint. Without a tray, painters commonly use 15 to 25% more paint than necessary due to overloading and splatter losses.
Keeps the Work Area Cleaner and Safer
The raised edges of a paint roller tray contain paint within a defined space, preventing it from spreading across floors, ladders, and nearby surfaces. This containment feature is especially important when working on ceilings, staircases, or any elevated surface where an open paint container would be a significant spill hazard.
Key safety and cleanliness benefits of using a tray include:
- The low-profile design reduces the risk of paint tipping compared to tall cans or buckets.
- Tray liners — thin plastic inserts that fit inside the tray — eliminate the need to clean the tray between color changes or at the end of the session; simply lift and discard the liner.
- Most trays have a flat, stable base that sits securely on scaffolding planks, ladder shelves, or drop cloths without rocking.
- The shallow depth means that even if the tray is accidentally knocked over, the volume of spilled paint is far less than what would escape from an overturned can.
For painters working on ladders, many trays include a magnetic or hook attachment point on one end that allows the tray to hang securely from a ladder rung, keeping both hands free for painting.
Speeds Up the Painting Process
Using a roller tray speeds up painting in several practical ways. Because the tray is positioned close to the work surface, the painter can reload the roller quickly and return to painting without moving away from the wall. This proximity reduces the time spent walking back and forth to a paint source and keeps the workflow continuous.
The ramp design also removes the need for any separate tools to remove excess paint from the roller — the painter simply rolls across the ramp, which squeegees off surplus paint and returns it to the well automatically. This self-regulating loading cycle allows an experienced painter to reload in under 10 seconds, maintaining a steady pace across large wall sections.
In professional painting, time directly translates to labor cost. Contractors consistently cite the tray-and-roller system as capable of covering 150 to 200 square feet of wall per hour for a single painter — a rate that is practically unachievable with brushes alone and difficult to sustain without a properly used tray.
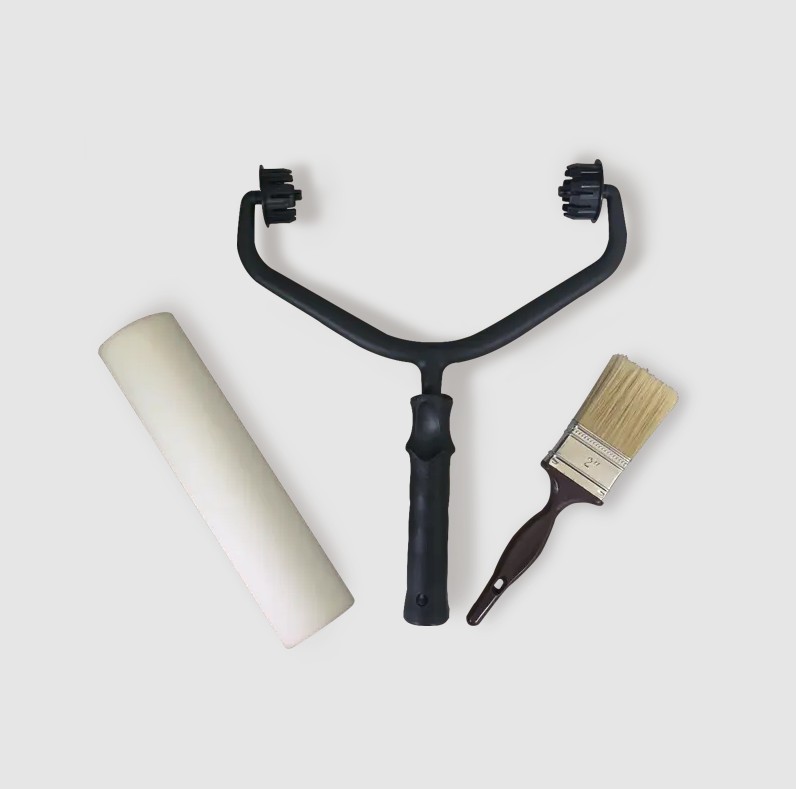
Tray Types and Their Specific Advantages
Not all roller trays are identical. Understanding the differences helps painters choose the right tray for their specific project and working conditions.
| Tray Type | Material | Best Use Case | Key Advantage |
|---|---|---|---|
| Standard plastic tray | Plastic | DIY interior walls | Lightweight, affordable, easy to clean |
| Metal tray | Galvanized steel | Heavy-duty or repeated professional use | Durable, resists warping, longer lifespan |
| Liner tray system | Plastic tray + disposable liner | Multi-color projects or fast cleanup | Eliminates tray cleaning between colors |
| Ladder hook tray | Plastic or metal | Ceiling work, high walls | Attaches to ladder rung for hands-free access |
| Deep-well bucket grid | Plastic bucket + metal grid | Large commercial painting projects | Holds more paint; fewer refills on big jobs |
For most homeowners painting interior rooms, a standard 9-inch plastic tray with a liner represents the best combination of cost, convenience, and cleanup ease. Professional painters often prefer metal trays or deep-well bucket systems for their durability and larger paint capacity on extended jobs.
Tray Size Must Match the Roller Width
A tray that is too narrow for the roller cover being used forces the painter to angle the roller when loading, which results in paint being applied unevenly across the nap. This defeats the primary purpose of the tray and leads to the same streaking and overlap issues associated with loading from a bucket.
Always select a tray that is at least as wide as the roller cover, with a small margin of clearance on each side. For example:
- A 4-inch mini roller cover requires a 4- to 6-inch tray.
- A 9-inch standard roller cover uses the most widely available 9-inch tray.
- A 12- or 14-inch cover requires a wider professional tray to allow full-width loading.
- An 18-inch commercial cover is best used with a deep-well bucket and grid system rather than a flat tray.
Using a correctly sized tray ensures the roller makes full, flat contact with the ramp surface on every loading pass, which is the single most important physical requirement for uniform paint distribution across the cover.
How to Use a Paint Roller Tray Correctly
Owning the right tray is only half the equation — using it correctly determines whether it delivers the benefits described above. Follow these steps for best results:
- Fill the well to the correct level. Pour paint into the deep well only — never fill the ramp. Fill to roughly one-third of the well's depth, which is typically around 1/2 inch of paint. This is enough for multiple roller loads without risking overflow when the roller is pressed into the well.
- Dip the roller into the well at a shallow angle. Submerge only the lower third of the roller cover into the paint pool. Avoid plunging the entire cover, which saturates the nap and causes dripping.
- Roll up the ramp four to six times. Work the roller cover up and down the ribbed ramp, pressing gently but evenly. This step distributes paint across the full length of the cover and removes excess from the surface layer of the nap.
- Check the cover before applying to the wall. A correctly loaded cover will look evenly saturated with no dripping. If paint runs freely off the cover, roll it on the ramp a few more times before painting.
- Refill the well as needed. Add small quantities of fresh paint to the well rather than large amounts at once. This keeps the working volume low and reduces waste if the paint color needs to be changed or the session ends unexpectedly.
Cleaning and Maintaining the Tray
A paint roller tray is a reusable tool that, with proper cleaning, can last through dozens of projects. Neglecting cleanup causes paint to cure inside the tray, making the surface rough and compromising the ramp's effectiveness on future uses.
Cleaning a Tray After Latex (Water-Based) Paint
- Pour any remaining wet paint back into the original can through a fine strainer to remove debris — this recovers usable paint and avoids pouring wet latex down the drain.
- Rinse the tray immediately under warm running water and scrub with a stiff brush until all paint residue is removed.
- Dry the tray fully before storing to prevent rust on metal trays and mold growth on plastic ones in humid conditions.
Cleaning a Tray After Oil-Based Paint
- Return unused paint to its can, then wipe the tray with old rags to remove the bulk of the residue before using solvents.
- Pour a small amount of mineral spirits into the tray and scrub with a brush, then wipe clean with rags. Repeat with a second round of clean solvent if needed.
- Never pour solvent waste down household drains. Collect used solvent in a sealed metal container and dispose of at a local hazardous waste facility.
Using tray liners eliminates the need for solvent cleaning in most cases, as the liner is simply removed and discarded after use. This is particularly valuable on professional jobs where multiple color changes per day are required and cleaning time directly affects profitability.
Paint Roller Tray vs. Bucket and Grid: When to Use Each
For very large painting projects — such as commercial interiors, warehouses, or multi-room residential repaints — a deep-well bucket paired with a roller grid offers some advantages over a standard tray. Understanding the trade-offs helps painters choose the right loading method for the job scale.
- Paint roller tray: Best for most residential projects, rooms with multiple colors, and situations where portability and easy cleanup are priorities. Holds roughly 1 quart of paint at working depth, suitable for a single room's walls without frequent refilling.
- Bucket and grid system: Best for large uninterrupted surfaces where a single color covers a wide area. A standard 5-gallon bucket with a grid holds far more paint, reducing reload frequency. However, buckets are heavier, harder to move, and more difficult to clean than trays.
For the majority of painting tasks — interior walls, ceilings, fences, and floors in residential settings — the standard roller tray remains the most practical and versatile choice because it balances paint volume, portability, ease of loading, and cleanup efficiency in a single low-cost tool.