Español
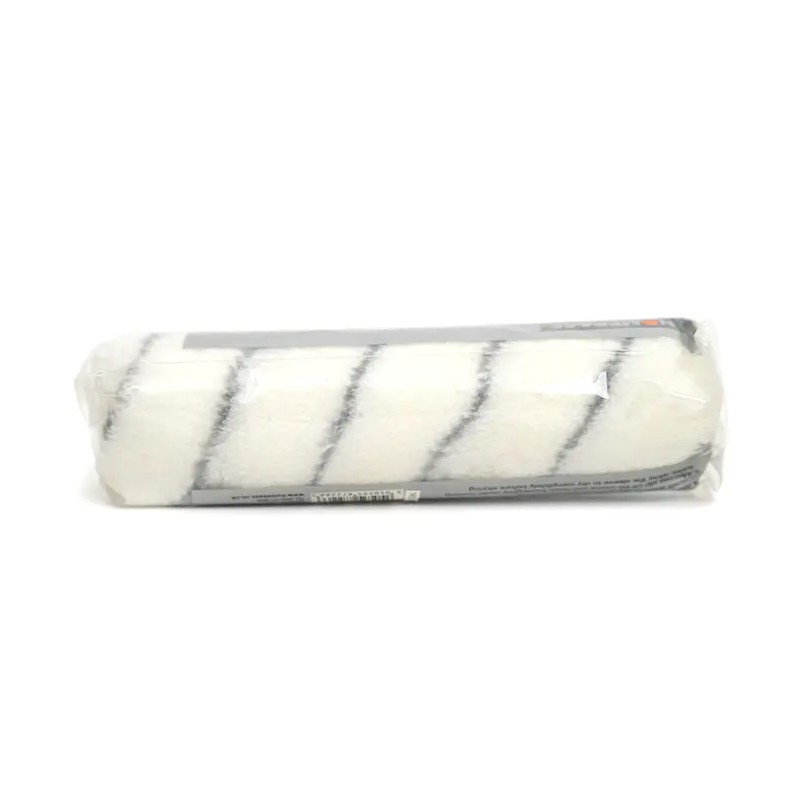
When using a paint roller cover, the most important precautions are: select the correct nap thickness for your surface, prime the cover before use, avoid overloading it with paint, maintain consistent pressure during application, and clean it thoroughly after each session. Skipping any of these steps commonly leads to uneven coverage, roller marks, paint splatter, and premature cover deterioration — all of which increase both time and cost on any painting project.
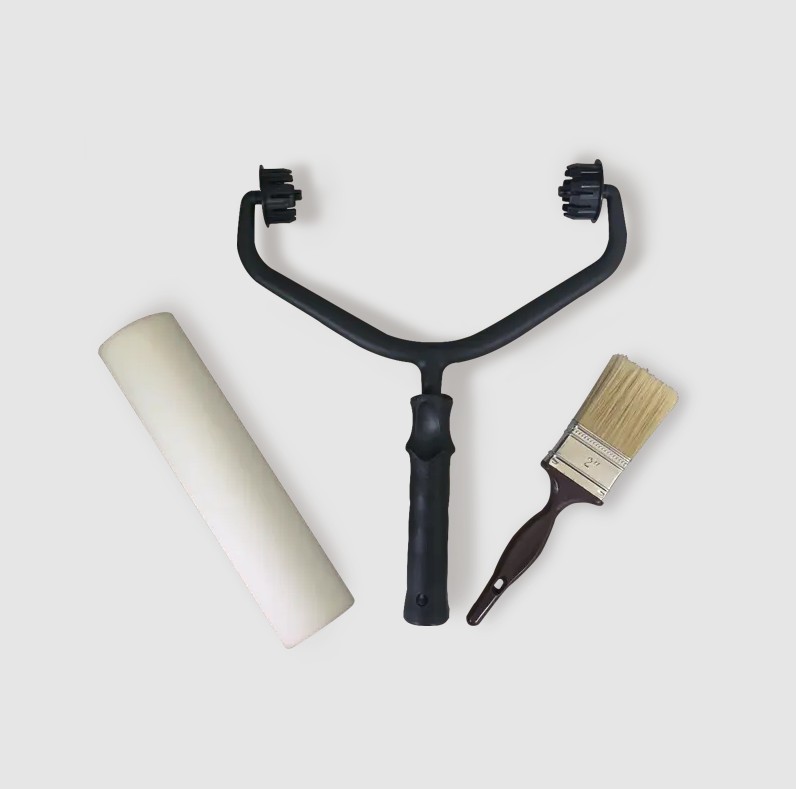
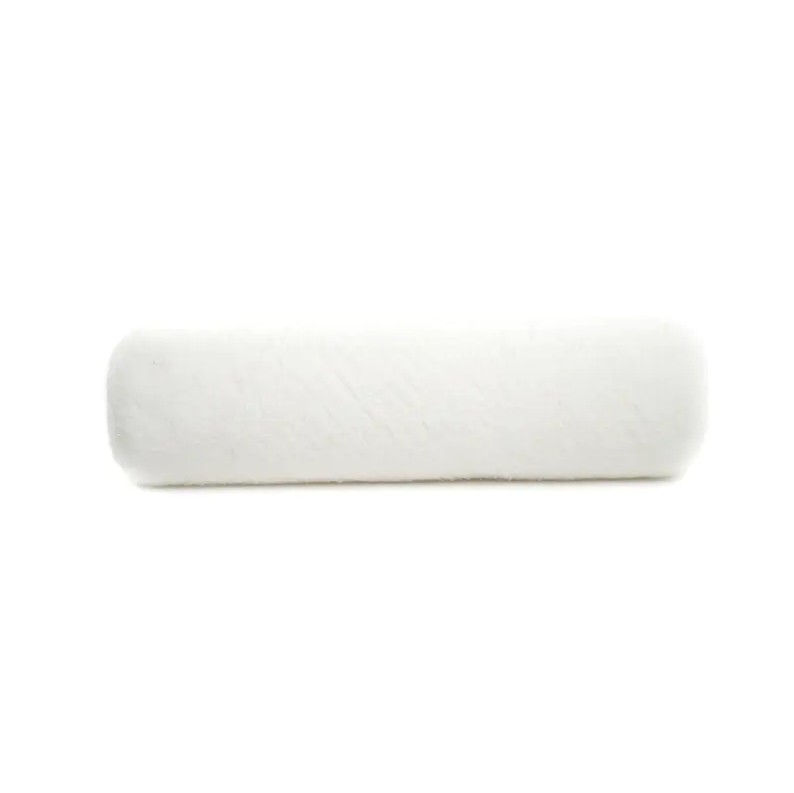
A paint roller cover — also called a roller nap or roller sleeve — is a cylindrical tool made from synthetic fibers, woven fabric, or foam. It fits over a roller frame and is responsible for picking up, holding, and releasing paint onto a surface. Because it directly contacts both the paint and the wall, ceiling, or floor, every aspect of how it is selected, prepared, and used affects the final result.
Content
- 1 Choose the Right Nap Thickness for the Surface
- 2 Inspect and Prepare the Cover Before Each Use
- 3 Avoid Overloading the Cover with Paint
- 4 Match the Cover Material to the Paint Type
- 5 Apply Consistent Pressure and Use Proper Technique
- 6 Prevent Splatter with the Right Nap and Speed
- 7 Handle the Cover Safely Around Chemicals and Solvents
- 8 Proper Cleaning to Extend Cover Life
- 9 Store Roller Covers Correctly Between Uses
- 10 Know When to Replace a Roller Cover
Choose the Right Nap Thickness for the Surface
One of the most critical precautions is selecting a roller cover with the appropriate nap (pile) thickness. Using the wrong nap is a leading cause of poor paint coverage and surface defects. Nap thickness determines how much paint the cover holds and how deeply it reaches into surface texture.
| Nap Thickness | Surface Type | Typical Application |
|---|---|---|
| 3/16 – 1/4 inch | Very smooth (glass, metal) | Doors, cabinets, trim |
| 3/8 – 1/2 inch | Smooth to slightly textured | Interior walls, ceilings |
| 3/4 inch | Medium texture | Semi-rough plaster, wood paneling |
| 1 – 1.5 inch | Rough / heavily textured | Brick, stucco, concrete block |
Using a thin nap on a rough surface will leave unpainted recesses and result in patchy coverage. Conversely, a thick nap on a smooth wall deposits too much paint at once, leading to drips, stippling marks, and wasted material. Always match nap to surface before beginning work.
Inspect and Prepare the Cover Before Each Use
Before loading any paint, inspect the roller cover carefully. A new cover often contains loose fibers that will transfer to the painted surface and create a rough, speckled finish. To prevent this:
- Wrap the new cover with painter's tape and peel it off to remove loose fibers. Repeat two to three times.
- Dampen the cover lightly with water (for latex paint) or mineral spirits (for oil-based paint) before loading — this is called conditioning the cover, and it primes the fibers for better paint absorption.
- Shake off or roll out excess moisture on a clean cloth before dipping into paint to avoid diluting the paint mixture.
For previously used covers, check that the nap is not matted, torn, or hardened from dried paint. A cover with compressed or uneven nap will produce streaks regardless of the technique used. If the cover cannot be fully restored by rinsing, replace it — roller covers are relatively inexpensive and not worth compromising a project over.
Avoid Overloading the Cover with Paint
Overloading is one of the most common mistakes made with roller covers, and it is entirely preventable. When too much paint is loaded onto the cover, excess paint accumulates at the ends of the roller and drips onto the floor and trim, creating cleanup problems and uneven application.
The correct loading technique involves:
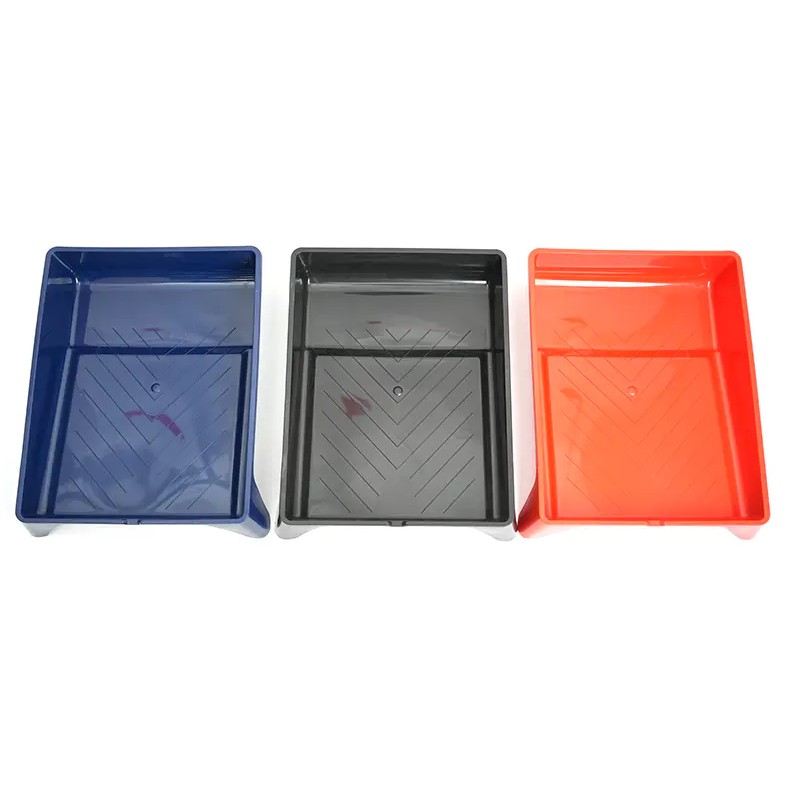
- Dipping only one-third to one-half of the nap depth into the paint tray well.
- Rolling the cover back and forth on the tray's ridged ramp at least four to five times to distribute paint evenly throughout the nap.
- Checking that paint does not drip freely from the cover before touching the wall — a loaded but not overloaded cover will hold its shape without running.
A properly loaded 9-inch roller cover should be able to complete a roughly 4-foot by 4-foot section of wall before needing to be reloaded. If you find yourself reloading after every few strokes, the cover may be the wrong nap for the surface or the paint viscosity needs adjustment.
Match the Cover Material to the Paint Type
Not all roller cover materials work well with all paint types. Using an incompatible cover can cause the material to break down, shed fibers, or fail to release paint uniformly. Follow these compatibility guidelines as a precaution:
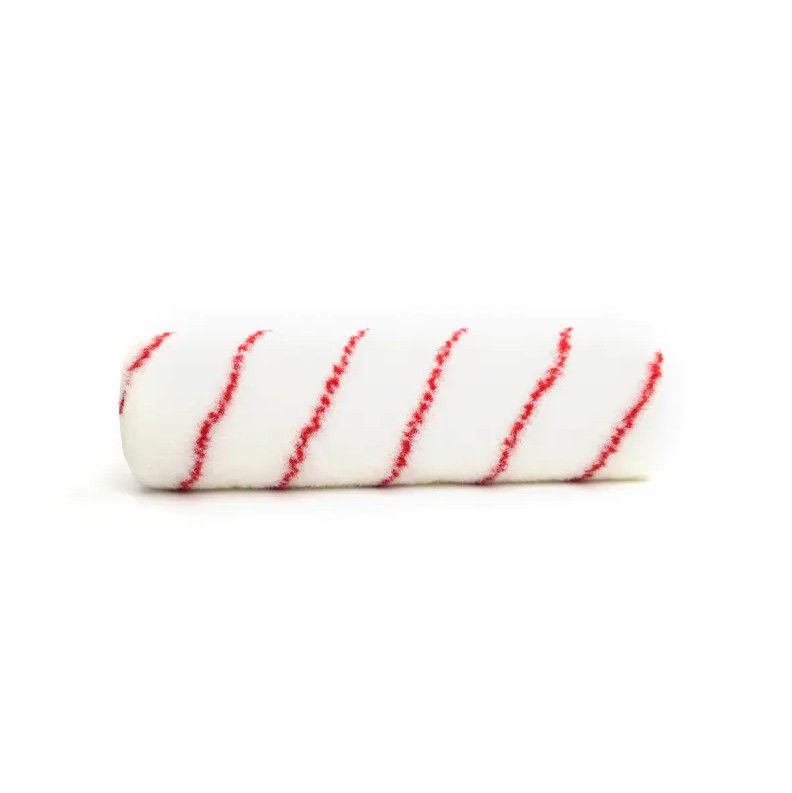
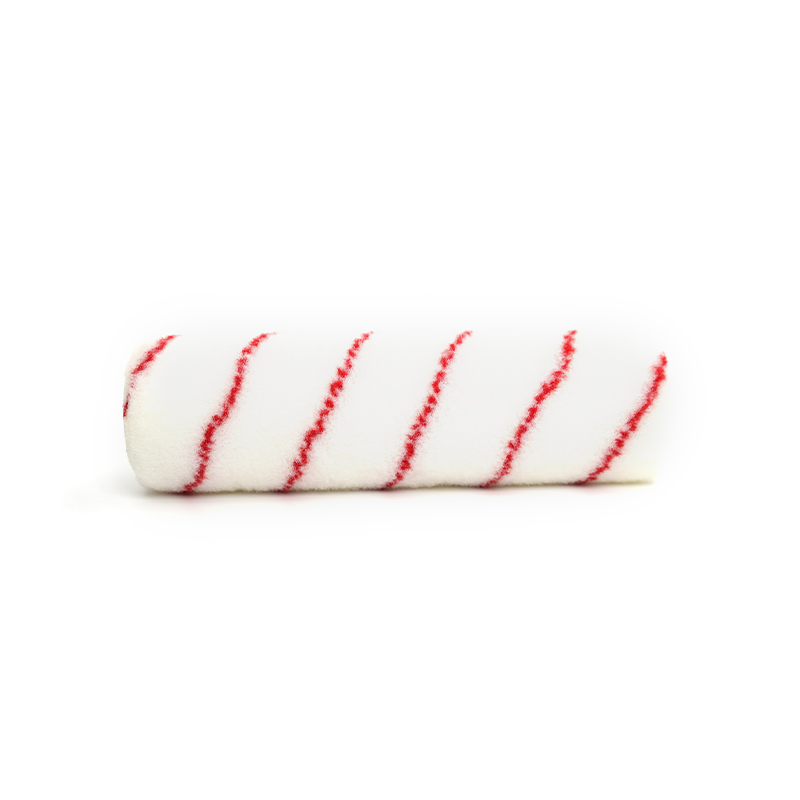
- Synthetic fiber covers (polyester or nylon blends): Best suited for water-based latex and acrylic paints. They maintain their shape when wet and resist matting.
- Natural fiber covers (lambswool, mohair): Ideal for oil-based paints, alkyd finishes, and varnishes. Natural fibers absorb and release solvent-based coatings smoothly but can swell and mat when used with water-based products.
- Foam roller covers: Suited for very smooth surfaces and gloss or semi-gloss paints. They deliver a smooth, almost brush-mark-free finish but are not suitable for textured surfaces and tend to absorb solvent-based paints unevenly.
- Woven fabric covers: Versatile for a range of paint types and surfaces; typically more durable than foam and suitable for both latex and oil-based coatings.
Apply Consistent Pressure and Use Proper Technique
Even with the correct cover and properly loaded paint, poor application technique can undermine results. Inconsistent pressure creates visible lap marks, light patches, and uneven sheen — problems that are difficult to correct once the paint dries.
Recommended Application Sequence
- Begin with a "W" or "M" pattern to distribute paint over a 2–3 square foot section without lifting the roller.
- Back-roll in long, vertical strokes to level the paint and eliminate texture marks.
- Finish each section by lightly rolling from top to bottom with minimal pressure — this is called "laying off" and produces a uniform surface.
Pressure Precautions
- Do not press the roller hard into the wall — this squeezes paint out from the cover ends, creating ridges along stroke edges.
- Maintain a 45-degree angle between the handle and the wall for the most balanced nap contact.
- Keep the roller moving at a consistent speed — stopping mid-stroke concentrates paint and creates blotches.
Prevent Splatter with the Right Nap and Speed
Paint splatter is a frequent complaint with roller covers, and it is largely preventable. Splatter occurs when the roller spins too fast or the nap is too thick for the paint viscosity, causing droplets to fly off the rotating cover.
Key precautions to minimize splatter:
- Roll at a moderate speed — faster is not better. A slow, steady stroke deposits more paint with less scatter.
- Use the finest nap appropriate for the surface. A 3/8-inch nap produces significantly less splatter on smooth walls than a 3/4-inch nap used incorrectly on the same surface.
- Do not overload the cover — excess paint is the primary driver of splatter regardless of rolling speed.
- Always use drop cloths and cover baseboards, trim, and furniture before starting, as even careful rolling produces fine mist that travels up to 6 feet from the work area.
Handle the Cover Safely Around Chemicals and Solvents
When working with oil-based paints, stains, or varnishes, cleaning a roller cover requires mineral spirits, paint thinner, or other solvents. These materials carry health and fire risks that require specific precautions:
- Always work in a well-ventilated area or outdoors when cleaning covers with solvent-based cleaners to avoid inhaling fumes.
- Wear chemical-resistant gloves — repeated skin contact with solvents can cause dermatitis and long-term irritation.
- Never dispose of solvent-soaked covers or rags in regular trash or near open flames — store used solvent in sealed metal containers and dispose of them at a designated hazardous waste facility.
- For latex paint, use warm water and mild soap immediately after use — delay causes the paint to cure inside the fibers, making cleaning much harder and often impossible after 30 to 60 minutes of drying time.
Proper Cleaning to Extend Cover Life
A quality roller cover can be reused up to 5 times or more if cleaned correctly after each use. Improper cleaning shortens lifespan and leads to degraded paint application on subsequent projects.
Cleaning Steps for Latex (Water-Based) Paint
- Remove the cover from the frame and use a 5-in-1 tool or the back of a putty knife to scrape off excess paint.
- Rinse under warm running water while working the nap with your fingers until water runs clear.
- Apply a small amount of dish soap and work it through the fibers, then rinse thoroughly.
- Shake off excess water and store the cover upright or hanging — never resting on the nap — to preserve fiber shape while drying.
Cleaning Steps for Oil-Based Paint
- Remove excess paint by scraping as above.
- Pour a small amount of mineral spirits into a bucket and work the cover through the solvent until paint releases from the fibers.
- Transfer to a second bucket with clean solvent and repeat until the solvent stays clear.
- Finish by rinsing with warm soapy water to remove solvent residue, then dry as above.
Store Roller Covers Correctly Between Uses
Even a well-cleaned cover can be ruined by improper storage. Follow these precautions to keep covers in usable condition:
- Store covers in their original plastic sleeve or wrap them in plastic wrap to prevent dust from embedding in the nap.
- Never store a cover flat on its side — gravity will permanently flatten the nap on one side, leaving that section unable to hold and release paint evenly.
- Keep covers away from direct sunlight and extreme temperatures, which can degrade synthetic fibers and cause foam covers to crack or crumble.
- For short breaks during a project (under 24 hours), wrap the cover tightly in plastic wrap without cleaning it — this keeps the paint wet and eliminates the need for a full mid-project cleaning.
Know When to Replace a Roller Cover
Even with careful use and cleaning, roller covers reach the end of their useful life. Continuing to use a degraded cover wastes paint and time. Replace the cover when you notice any of the following:
- Matted or unevenly worn nap that cannot be restored by rinsing and reshaping.
- Visible hardened paint patches embedded deep in the fibers that resist cleaning.
- Delamination or separation of the cover from its inner cardboard or plastic core.
- Foam covers that show cracking, tearing, or permanent compression — foam does not recover from structural damage.
- Persistent streaking or uneven finish during application even when technique and loading are correct.
A standard 9-inch synthetic roller cover typically costs between $3 and $15 depending on quality. Given that a degraded cover can ruin an entire wall's finish and require sanding and repainting, replacing a worn cover is always the cost-effective choice.