Español
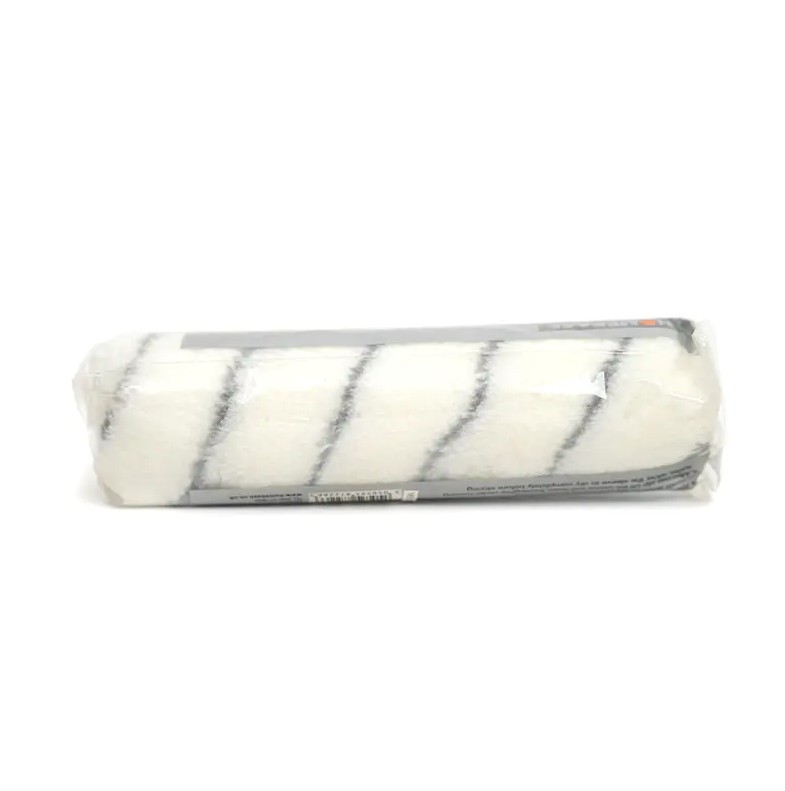
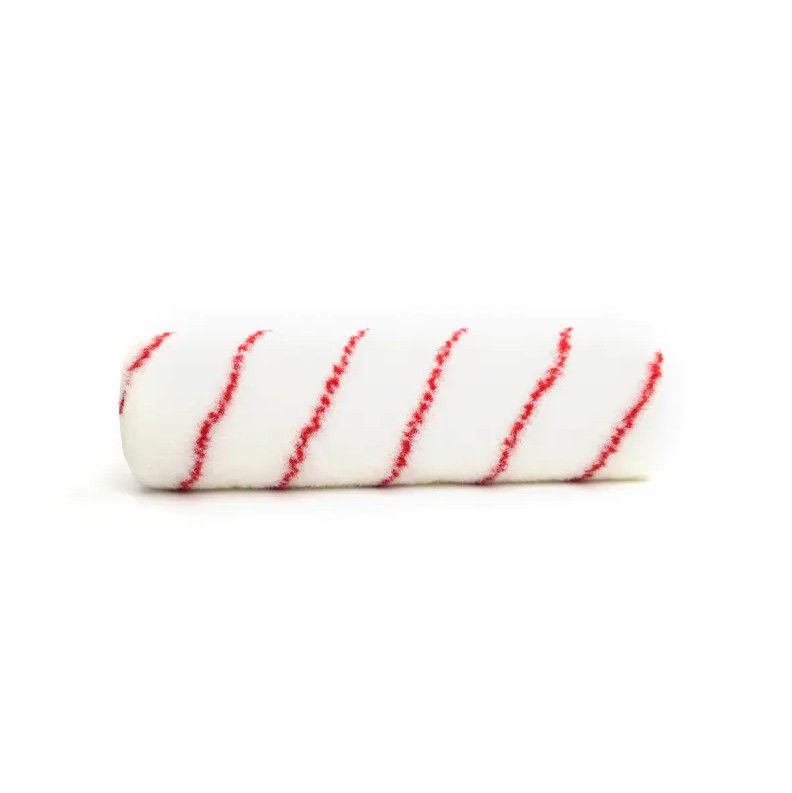
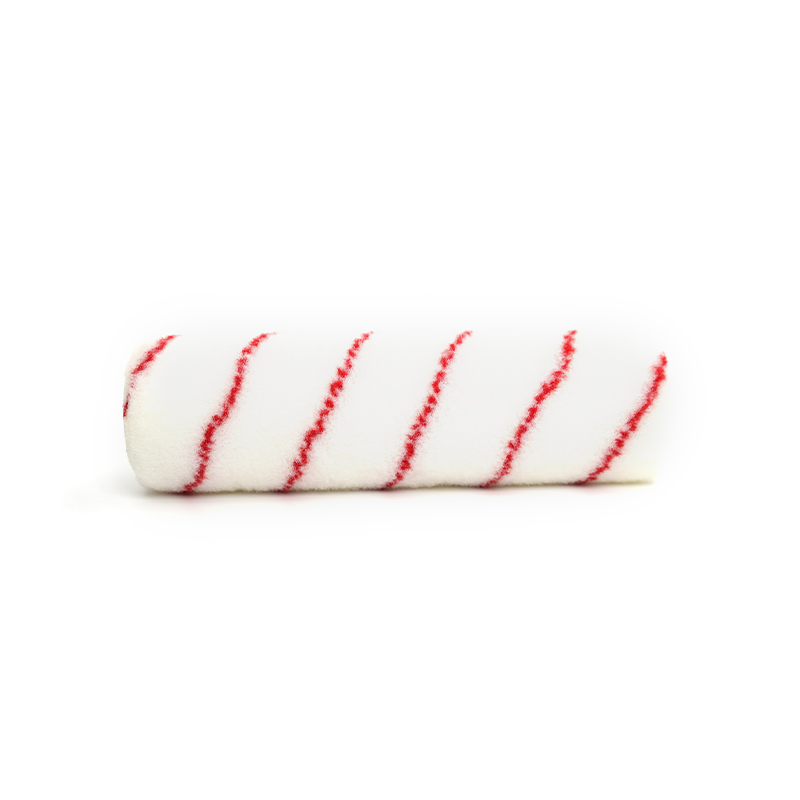
Clean a Paint Roller Cover by first scraping off excess paint, then washing it with the solvent that matches your paint type: warm water and dish soap for latex or acrylic paint, or mineral spirits or paint thinner for oil-based paint. Rinse or soak until the liquid runs clear, squeeze out the excess, and stand the cover on its end to air dry. Benjamin Moore outlines this same core sequence, starting with scraping excess paint back into the tray, then washing the cover, removing the water, and letting it dry fully before storage (Source: Benjamin Moore, How to Clean Paint Rollers). Clean the cover immediately after use for the easiest result and the longest cover lifespan.
Content
- 1 Why Cleaning Method Depends On Paint Type
- 2 Cleaning A Roller Cover After Latex Or Acrylic Paint
- 3 Cleaning A Roller Cover After Oil-Based Paint
- 4 Drying And Storing The Cover Correctly
- 5 Skipping Cleaning Between Coats
- 6 How Many Times Can A Cleaned Cover Be Reused
- 7 Common Cleaning Mistakes To Avoid
- 8 Practical Cleaning Checklist
Why Cleaning Method Depends On Paint Type
The single most important decision in cleaning a roller cover is identifying whether the paint is water-based or oil-based, since the two require entirely different solvents. Sensible Digs summarizes the split clearly: warm water and mild dish detergent for water-based latex paint, and mineral spirits, paint thinner, or turpentine for oil-based paint (Source: Sensible Digs, How To Clean Paint Rollers In 5 Easy Steps). Using water on an oil-based cover will not remove the paint, and using solvent unnecessarily on a latex cover wastes money and creates needless hazardous waste.
If you are not sure which type of paint you used, check the paint can label or its Technical Data Sheet, which Benjamin Moore notes will specify the correct cleanup process for that specific product (Source: Benjamin Moore, How to Clean Paint Rollers).
Cleaning A Roller Cover After Latex Or Acrylic Paint
Water-based paint is by far the easier of the two to clean, and most of it can be removed before you even touch soap and water.
Step One: Scrape Off Excess Paint
Hold the roller over the paint can and use a putty knife or a 5-in-1 tool to scrape paint out of the nap and back into the tray. Family Handyman recommends working with long strokes but not pressing hard enough to knock dried paint bits loose into your cleaning water (Source: Family Handyman, How to Clean Paint Rollers and Tray). Rolling the remaining paint onto a scrap piece of cardboard or newspaper until it stops releasing color removes even more paint before washing begins.
Step Two: Wash With Warm Soapy Water
Remove the cover from the frame and submerge it in a bucket or sink of warm water with a few drops of dish soap. Massage the paint out of the fibers with your gloved hands, gently squeezing and releasing to work pigment loose, then rinse and repeat with fresh water until it runs clear (Source: Hyde Tools, How to Clean Paint Rollers for Long-Term Use). Pro Paint Corner adds that running hot water directly through the roller tube, especially if it has perforated holes, lets water reach the fibers from the inside out for a faster, more thorough rinse (Source: Pro Paint Corner, How to Clean A Paint Roller).
Step Three: Optional Fabric Softener Rinse
For a final touch, add a small amount of laundry fabric softener to the last rinse. Sensible Digs notes this step helps keep roller fibers soft and fluffy for the next use, preventing the nap from drying stiff or brittle (Source: Sensible Digs, How To Clean Paint Rollers In 5 Easy Steps).
Disposal Note For Septic Systems
If your home uses a septic system, avoid rinsing latex paint down an interior drain. Hunker explains that latex paint can damage the bacteria inside a septic tank that breaks down waste, increasing the risk of drain-field clogging, so rinsing should be done outdoors into a bucket instead, with the wastewater later disposed of through a municipal water treatment drain (Source: Hunker, How To Clean Paint Rollers).
Cleaning A Roller Cover After Oil-Based Paint
Oil-based paint requires solvent rather than water, along with extra ventilation and protective gear.
- Scrape off as much excess paint as possible back into the can before introducing any solvent
- Submerge the roller cover in a small container of mineral spirits or paint thinner, using just enough to cover it
- Rotate and gently squeeze the cover with gloved hands to work the solvent through the fibers
- Replace the solvent with a fresh batch and repeat until the liquid runs clear
- Let the cover stand in a well-ventilated area so excess solvent can drip off before drying
Hyde Tools recommends wearing gloves throughout this process and disposing of used solvent responsibly according to local waste guidelines, since the fumes are flammable and should never be handled near children, pets, or open flame (Source: Hyde Tools, How to Clean Paint Rollers for Long-Term Use). Family Handyman adds a money-saving tip: let the paint solids in the used solvent settle to the bottom of a covered container, then pour off the relatively clean solvent into a separate bottle so it can be reused for future cleanups (Source: Family Handyman, How to Clean Paint Rollers and Tray).
Drying And Storing The Cover Correctly
How you dry and store a roller cover has almost as much impact on its lifespan as how you clean it.
Squeeze Or Spin Out Excess Liquid
After the final rinse or solvent bath, remove as much liquid as possible before drying. A dedicated roller spinner, used either by hand pump or attached to a power drill at a controlled speed, flings out water far more effectively than squeezing alone (Source: Pro Paint Corner, How to Clean A Paint Roller). If a spinner is not available, stepping outside and rapidly waving the roller in the air works as a simple substitute.
Never Dry The Cover Flat
Sensible Digs warns that laying a wet roller flat will cause the weight of the wet fibers to flatten one side permanently, making the roller apply paint unevenly on its next use (Source: Sensible Digs, How To Clean Paint Rollers In 5 Easy Steps). Always stand the cover on its end to air dry completely before storing it.
Store In Plastic To Block Dust
Once fully dry, wrap the cover in plastic wrap, a plastic bag, or kraft paper to keep dust and debris out of the nap until the next project (Source: Benjamin Moore, How to Clean Paint Rollers).
Skipping Cleaning Between Coats
Cleaning is not always necessary between every coat. If you plan to reuse the same color within a day or two, Benjamin Moore suggests wrapping the roller in plastic wrap and placing it in the refrigerator rather than washing it, which keeps the cover wet and ready without the paint drying out (Source: Benjamin Moore, How to Clean Paint Rollers). For storage over a weekend, Sensible Digs recommends a sealed zip-top bag placed in the freezer, with the cover brought back to room temperature before resuming work (Source: Sensible Digs, How To Clean Paint Rollers In 5 Easy Steps).
How Many Times Can A Cleaned Cover Be Reused
A properly cleaned and stored roller cover does not need to be a single-use item. Tribble Painting Company estimates that a roller cover cleaned correctly after both latex and oil-based paint can typically be reused 3 to 4 times, sometimes more, with higher-quality covers often lasting longer under regular maintenance (Source: Tribble Painting Company, How to Clean Paint Rollers the Right Way). Benjamin Moore agrees that a cover should be discarded only once it is significantly worn, shedding fibers, or caked with paint debris that washing cannot remove (Source: Benjamin Moore, How to Clean Paint Rollers).
| Paint Type | Cleaning Solvent | Drying Method |
| Latex or acrylic | Warm water and dish soap | Air dry upright |
| Oil-based | Mineral spirits or paint thinner | Ventilate, then air dry upright |
Common Cleaning Mistakes To Avoid
- Letting paint dry on the cover before cleaning, which makes removal far harder and can ruin the nap permanently
- Using water on an oil-based cover, which will not dissolve the paint and wastes both time and water
- Drying the cover lying flat, which permanently flattens one side of the nap
- Pouring latex paint rinse water down a drain connected to a septic system, which can damage the tank's bacteria balance (Source: Hunker, How To Clean Paint Rollers)
- Disposing of oil-based solvent in household trash rather than through proper hazardous waste channels
Practical Cleaning Checklist
Keep this short checklist nearby for the next time a project wraps up:
- Scrape excess paint back into the can immediately after use
- Match the solvent to the paint type: soapy water for latex, mineral spirits for oil-based
- Rinse or soak repeatedly until the liquid runs clear
- Squeeze or spin out excess liquid, then air dry standing upright, never flat
- Wrap the dry cover in plastic before storing to keep dust out
Following this routine every time keeps a quality Paint Roller Cover usable for multiple projects instead of needing a replacement after every job, saving both money and material waste over time.