Español
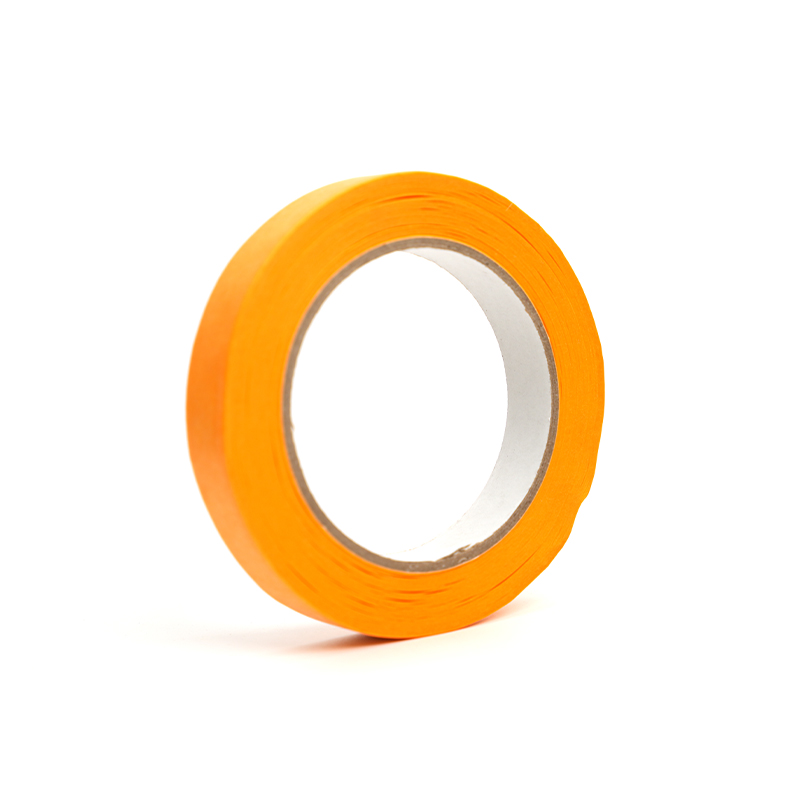
Masking tape is used primarily to protect surfaces from paint, create clean straight paint edges, and shield areas that should not be painted during decorating and painting projects. Beyond its core painting applications, masking tape is widely used for labeling, bundling, temporary fixing, creating decorative wall patterns, automotive refinishing, craft projects, and light-duty packaging. Its pressure-sensitive adhesive bonds firmly enough to hold in place during work, yet releases cleanly without damaging most surfaces or leaving adhesive residue — making it one of the most versatile and frequently used tapes across both professional and domestic settings.
Content
- 1 Primary Use: Protecting Walls and Surfaces from Paint Splatter
- 2 Creating Decorative Wall Patterns and Multi-Color Designs
- 3 Types of Masking Tape and Their Specific Applications
- 4 Non-Painting Uses of Masking Tape
- 5 Standard Sizes and How to Choose the Right Width
- 6 Common Masking Tape Mistakes and How to Avoid Them
Primary Use: Protecting Walls and Surfaces from Paint Splatter
The most fundamental use of masking tape in decorating is to shield surfaces adjacent to the area being painted — preventing paint from reaching areas where it is not wanted and enabling a neat, professional result without the need for exceptional freehand painting skill.
In interior decorating, masking tape is applied to the edges of skirting boards, door frames, window architraves, ceiling roses, and light switch plates before painting walls — creating a physical barrier that catches any paint that strays beyond the intended area. The tape is pressed firmly along its full length to seal the edge, paint is applied over and up to the tape line, and the tape is removed while the paint is still slightly wet to reveal a clean, sharp paint edge.
Standard masking tape in widths of 24mm to 50mm covers the most common decorating masking requirements. Wider tape — available up to 100mm and beyond — is used when a larger protective margin is needed, such as masking a wide skirting board while painting a feature wall above it.
How to Achieve a Clean Paint Edge with Masking Tape
- Apply the tape to the surface to be protected, positioning the edge of the tape precisely along the line where the paint should stop
- Press the tape edge firmly along its entire length using a putty knife or fingernail — a loose tape edge allows paint to bleed underneath, creating a ragged line
- Apply a very thin first coat of the same base color along the tape edge to seal any micro-gaps before applying the new color — this "seal coat" technique eliminates bleed-through on textured surfaces
- Remove the tape at a 45-degree angle while the paint is still slightly wet — pulling at this angle minimizes the risk of the dried paint film cracking or pulling away from the wall surface with the tape
Creating Decorative Wall Patterns and Multi-Color Designs
Masking tape is an essential tool for creating geometric patterns, stripes, chevrons, and multi-color wall designs that would be impossible to paint freehand with consistent precision. This decorative use transforms masking tape from a purely protective tool into an active design instrument.
To create a striped feature wall, for example, the painter marks the stripe positions lightly with a pencil and level, applies masking tape along each marked line, paints the exposed stripe areas, and removes the tape to reveal crisp, parallel stripes in two or more colors. The same principle applies to geometric shapes, half-painted walls (color blocking), diagonal designs, herringbone patterns, and abstract shapes.
Masking tape available in widths from 6mm to 50mm gives designers and homeowners control over the scale and detail of their patterns — narrow tape creates fine design lines; wider tape creates broader color divisions. For curves and irregular shapes, flexible low-tack masking tape that conforms to curves without creasing allows non-linear designs to be executed with the same clean edge precision as straight-line work.
Types of Masking Tape and Their Specific Applications
Not all masking tape is the same — different formulations are optimized for different tasks, surfaces, and performance requirements. Using the wrong type is one of the most common causes of paint bleed-through, surface damage, and tape that tears when removed.
| Tape Type | Backing Material | Best Application | Key Feature |
|---|---|---|---|
| General purpose masking tape | Crepe paper | Interior decorating, general masking, labeling | Cost-effective; removes cleanly within 24–48 hours |
| Precision / fine line tape | Thin crepe or film | Sharp paint edges, decorative patterns, detail work | Thinner, flatter edge; minimal paint bleed-through |
| Low-tack masking tape | Crepe paper | Delicate surfaces — wallpaper, fresh paint, polished wood | Removes without damage to sensitive surfaces |
| Flexible / curved masking tape | Thin crepe or foam | Curves, arches, circular designs, vehicle body lines | Conforms to curves without lifting or creasing |
| Automotive masking tape | High-temp crepe paper | Vehicle spray painting, oven-cure refinishing | Withstands up to 120°C without adhesive transfer |
| Outdoor / UV-resistant tape | UV-stabilized crepe | Exterior painting, masking left in place for days | Resists UV degradation; removes cleanly after extended use |
Non-Painting Uses of Masking Tape
Masking tape's combination of moderate adhesion, easy tear-by-hand removal, writability, and clean release makes it useful across a wide range of everyday applications beyond painting and decorating.
Labeling and Organization
Masking tape accepts pencil, pen, and marker writing cleanly on its crepe paper surface, making it ideal for temporary labeling of boxes, storage containers, cables, sample pots, and workshop items. A strip of masking tape on a paint tin records the color, room, and date of application; tape on a box identifies contents during a house move; tape on electrical cables identifies which circuit each cable belongs to. The ability to write on the tape and remove it later without adhesive residue distinguishes it from permanent labels.
Bundling and Temporary Fixing
Masking tape is routinely used to bundle cables, hold components in position during assembly or gluing, secure rolled documents and plans, and temporarily fix materials in position while adhesive, filler, or fasteners cure. Its moderate holding strength — sufficient for light to medium loads — and clean removal without surface damage make it suitable for temporary fixing on surfaces where permanent tape would cause damage.
Craft, Art, and DIY Projects
In craft and art applications, masking tape is used as a resist medium in watercolor and acrylic painting — applied to the paper or canvas before painting to protect areas that should remain the base color. It is used in bookbinding to reinforce spines, in model making to hold pieces during construction, and in school and workshop projects as a versatile temporary fastener. Colored masking tape — available in a wide range of custom colors in addition to the standard tan — is used in visual merchandising, event planning, and stage management to mark floor positions, indicate set layouts, and create temporary signage.
Standard Sizes and How to Choose the Right Width
Masking tape is available in a range of widths and roll lengths to suit different tasks and scales of work. Selecting the correct width for each application reduces waste, improves precision, and makes the work faster.
- 6–12mm (¼ to ½ inch): Narrow tape for fine detail masking, decorative line work, model painting, and artwork resist techniques where a precise, narrow masked edge is required
- 18–25mm (¾ to 1 inch): The most versatile all-round width — suitable for masking window frames, door edges, skirting boards, and creating standard-width geometric patterns. A 25mm × 50m roll is the most widely stocked standard size for general decorating use
- 36–50mm (1½ to 2 inch): Wider tape for masking broad surfaces such as wide skirting boards, door panels, and large areas requiring a bigger protective margin alongside the paint line
- 75–100mm (3 to 4 inch): Used when large areas must be masked in fewer tape runs — architectural masking of wide reveals, protecting car panels during spot repairs, and industrial masking applications
Common Masking Tape Mistakes and How to Avoid Them
Most masking tape failures — paint bleed-through, surface damage on removal, adhesive residue, or tape that tears in short pieces — are caused by a small number of avoidable application and timing mistakes.
- Leaving tape on too long: General purpose masking tape should be removed within 24 to 48 hours of application. Tape left for longer — especially in sunlight or high temperatures — allows the adhesive to cure onto the surface, making removal difficult and potentially damaging the substrate
- Not pressing the edge down firmly: A tape edge that is not fully sealed against the surface allows paint to wick underneath by capillary action, creating a blurred or ragged paint line. Always press the full length of the tape edge firmly before painting
- Using standard tape on delicate surfaces: Standard masking tape on wallpaper, freshly painted surfaces, or polished wood may pull the surface finish when removed. Always use low-tack masking tape on sensitive substrates
- Removing tape when paint is fully dry: Fully cured paint forms a film that bridges the tape edge and the wall. Removing the tape after full cure pulls this film away from the wall, creating a ragged tear. Always remove tape while the paint is still slightly tacky — typically 30 to 60 minutes after the final coat for emulsion paints
- Applying tape to dusty or damp surfaces: Masking tape requires a clean, dry surface to achieve proper adhesion. Dust prevents the adhesive from bonding; moisture prevents it from sealing the edge. Always wipe surfaces clean and allow them to dry fully before taping