Español
The most important rule for oil paint brush care: never let paint dry on the bristles. Clean your brushes immediately after every painting session using the right solvents and technique. With proper care, a quality oil paint brush can last 10–20 years; neglect it for even a few days and the bristles may be permanently ruined.
This guide covers everything you need to know — from mid-session wiping to deep cleaning, conditioning, and long-term storage — so your brushes stay in peak condition for years.
Content
- 1 What You Need Before You Start
- 2 How to Clean Oil Paint Brushes After Each Session
- 3 Handling Brushes During a Painting Session
- 4 How to Remove Dried Oil Paint from Brushes
- 5 Caring for Different Brush Types
- 6 Conditioning and Storing Oil Paint Brushes Long-Term
- 7 Common Mistakes That Ruin Oil Paint Brushes
- 8 Signs Your Brush Needs Replacing
What You Need Before You Start
Having the right supplies on hand makes brush care fast and effective. Using the wrong products — such as acetone or household dish soap in excess — can strip natural bristle oils and weaken the ferrule glue over time.
- Mineral spirits or odorless paint thinner — for initial paint removal
- Linseed soap or brush cleaning soap — for deep cleaning and conditioning
- Two jars or containers — one for dirty solvent, one for rinsing
- Lint-free rags or paper towels
- Brush conditioner or linseed oil — for storage protection
- A brush comb or stiff nail brush — for stubborn paint near the ferrule
Avoid soaking brushes in solvent for extended periods. Even 30 minutes submerged bristle-down can loosen the ferrule and cause bristles to splay permanently.
How to Clean Oil Paint Brushes After Each Session
A thorough end-of-session cleaning takes about 5–10 minutes per brush. Follow these steps every time:
Step 1 — Wipe Off Excess Paint
Use a rag or paper towel to wipe as much paint as possible from the bristles, working from the ferrule toward the tip. Never scrub side-to-side — this splays the bristles. Remove at least 80% of the paint this way before introducing any solvent.
Step 2 — Rinse in Solvent
Swirl the brush gently in mineral spirits or odorless paint thinner. Press the bristles against the bottom of the jar with light, downward strokes — never jab or stab. Wipe clean on a rag. Repeat in the second (clean) jar until no color transfers to the rag.
Step 3 — Wash with Soap
Work a small amount of linseed soap or brush-cleaning soap into the bristles using your palm. Rinse under lukewarm water. Repeat until the lather runs clear. Avoid hot water — it softens the ferrule glue and can cause bristle loss.
Step 4 — Reshape and Dry
Gently squeeze out water and reshape the bristles with your fingers. Lay brushes flat or hang them bristle-down to dry. Never dry brushes upright in a jar — water seeps into the ferrule and causes rust and bristle rot.
Handling Brushes During a Painting Session
Mid-session care is just as important as end-of-session cleaning. Paint that sits on bristles for even 20–30 minutes begins to skin over, especially in warm or dry conditions.
- Wipe brushes on a rag between color switches rather than leaving them loaded with paint.
- Rest brushes flat on the palette or across a jar — never bristle-down in solvent for more than a few minutes.
- If you need to pause mid-session for an hour or more, wrap bristles loosely in plastic wrap to slow drying.
- Keep a dedicated rinse jar with clean solvent specifically for quick mid-session wipes.
How to Remove Dried Oil Paint from Brushes
If paint has dried on a brush, all is not necessarily lost — but recovery requires more effort. Paint dried for under 48 hours can often be removed; paint that has cured for a week or more may have permanently stiffened the bristles.
- Soak the bristles (not the ferrule) in a dedicated brush restorer solution for 1–8 hours.
- Use a brush comb or stiff nail brush to work out softened paint from the base of the bristles.
- Follow with a full soap-and-water wash as described above.
- Repeat if necessary — some brushes need 2–3 treatment cycles.
Denatured alcohol can be used as a last resort on completely hardened paint, but it is harsh on natural bristles and should be followed immediately by conditioning with linseed oil.
Caring for Different Brush Types
Not all oil paint brushes are the same. Bristle type affects how aggressively you can clean and condition them.
| Brush Type | Best For | Cleaning Notes | Conditioning |
|---|---|---|---|
| Hog bristle (natural) | Heavy body, textured strokes | Durable; tolerates firm scrubbing | Linseed oil monthly |
| Sable (natural) | Fine detail, glazing | Extremely delicate; gentle strokes only | Brush conditioner after every wash |
| Synthetic filament | Smooth blending, washes | Easy to clean; less prone to damage | Optional; conditioning still extends life |
| Mongoose / badger | Soft blending, portraits | Similar care to sable; avoid harsh solvents | Condition after every use |
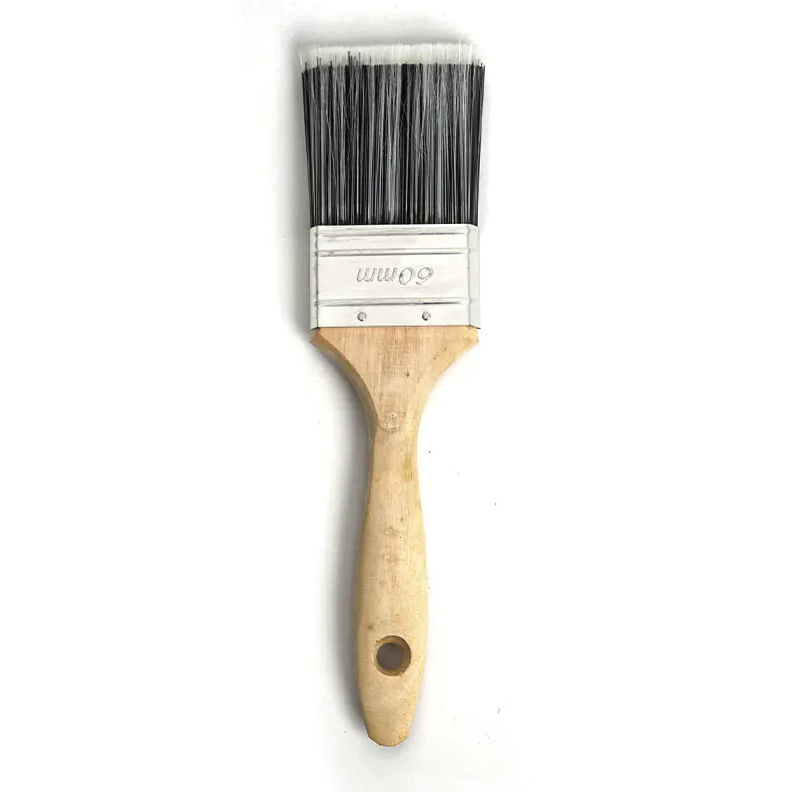
JIANGSU ZHIWEI manufactures both natural-hair and synthetic oil paint brushes with reinforced ferrules designed to withstand repeated cleaning cycles, making maintenance easier and extending brush lifespan significantly.
Conditioning and Storing Oil Paint Brushes Long-Term
Conditioning prevents natural bristles from becoming brittle and helps synthetic bristles retain their spring. It takes less than a minute per brush and dramatically extends working life.
How to Condition
After the brush is fully clean and dry, work a tiny amount of linseed oil or commercial brush conditioner into the bristles from base to tip. Shape the bristles and allow to rest overnight. Remove excess conditioner before your next painting session by wiping on a clean rag — leftover oil will dilute your paint consistency.
Storage Best Practices
- Short-term (days to weeks): Store flat in a brush roll or in a cup bristle-up, ensuring bristles are not touching anything.
- Long-term (months): Store in a sealed container with a cedar block or mothball to repel pests that eat natural hair bristles.
- Keep brushes away from direct sunlight and heat — UV exposure degrades both natural and synthetic bristles over time.
- Never store brushes in a closed container while still damp — mold can develop within 24–48 hours in humid conditions.
Common Mistakes That Ruin Oil Paint Brushes
Even experienced painters make these errors. Recognizing them is the fastest way to improve your brush care routine.
- Leaving brushes in solvent jar bristle-down: Bends bristles permanently and loosens the ferrule in as little as one session.
- Using too much pressure while cleaning: Forces paint up into the ferrule where it hardens and splays bristles from the base outward.
- Skipping the soap step: Solvent alone removes loose paint but leaves an oily film that attracts dust and causes bristles to clump.
- Using hot water: Temperatures above 40°C (104°F) soften ferrule adhesives — studies on brush manufacturing quality show this is a leading cause of early bristle loss.
- Storing uncleaned brushes overnight: Oil paint can begin to skin over in as little as 4–6 hours, making complete removal significantly harder by the next day.
Signs Your Brush Needs Replacing
Even with perfect care, brushes eventually wear out. Knowing when to retire a brush prevents wasted paint and poor results.
- Bristles no longer return to their original shape after cleaning and conditioning
- Visible splaying at the ferrule that cannot be corrected
- Loss of more than 20–25% of bristle volume
- Rust visible on the ferrule (can contaminate paint with brown flecks)
- The brush no longer holds a consistent tip or edge for its intended technique
Worn-out fine brushes can often be repurposed as stippling or texture brushes, extending their useful life even after they are no longer precise enough for detail work.